Suppress the CoreDump Warning
This will be another short one. After some time, I managed to get another host
After getting our ESXi server up and running and adding a few portgroups to it we can now take care about the network connectivity of workloads. Due to the fact that Hetzner (in the dedicated server business) is still heavily relying on IPv4 we need to do some pullups to pull it off. Okay, okay, I'll show myself out. Ready? Let's go!
The documentation explains how to achieve something like a router with a plain Linux-VM and some manual steps how to enable the inbound and outbound routing. The problem is that I don't like configurations like this and it simply does not provide anything on top. Therefore I chose OPNsense. Why? Because it looks a bit fresher than its predecessor pfSense and it had some nice features in terms of integrated features/plugins that were ready to use.
To install OPNsense you need to download the ISO file and make it available in your datastore. There are many ways to achieve this, I chose to SSH into the ESXi, enable HTTP outgoing connections for the moment and just wget it from one of the many mirrors:
wget http://mirror.fra10.de.leaseweb.net/opnsense/releases/mirror/OPNsense-20.7-OpenSSL-dvd-amd64.iso.bz2
and unpack it:
bzip2 -d OPNsense-20.7-OpenSSL-dvd-amd64.iso.bz2
Before we now start the installation, we need to install another VM. We repeat the steps above - but for an Ubuntu with a Desktop environment. The big question is: Why do we need an additional VM? The answer is pretty easy - OPNsense (and every other sensible firewall product on the market) limits the access to the management interface. There are some ideas or hacks that you can try (and I tried a lot of them, trust me), so it is just easier for you to follow me with the helper VM. The installation of an Ubuntu-VM should be pretty straight forward. Connect it to the "ExternalInterface" Portgroup for the installation so you can install everything, let it patch etc. Only caveat: Hetzners TOS. And what I'm going to tell you is against the operating model and will get you a nice mail that you should not do it, so don't tell me I've not warned you about this. When you're asked about the networking information, skip over the IPv4 part and directly use IPv6, the needed information is available in the Hetzner Robot:

When you enter just choose one of the many, many IP addresses from this huge Subnet, you'll get an outbound connection. But don't use the VM for too long, otherwise there will be a warning about "leaking MACs". And I'm not talking about the hardware out of Cupertino. Jokes aside, lets continue with OPNsense.
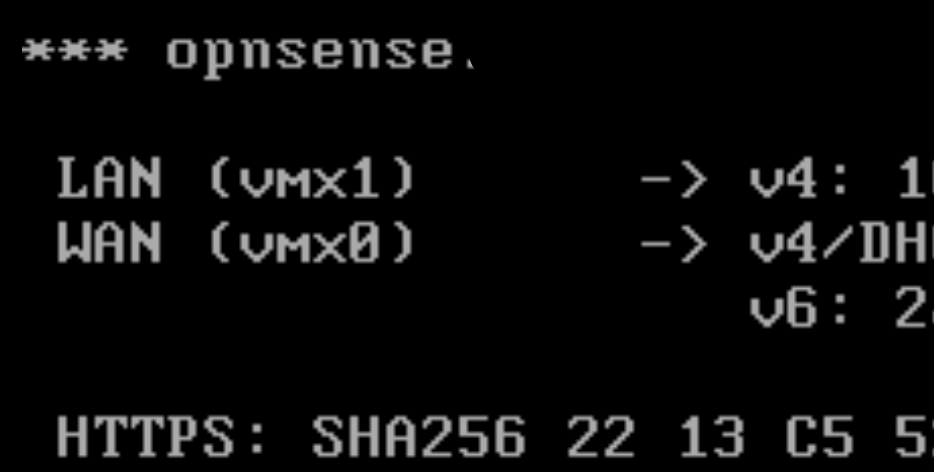
When your Helper VM is ready, continue with the installation of the Router VM itself. Please not that you should already configure two interfaces. One on "ExternalInterface" and one on "InternalInterface". After the installation you will be greeted by an Interface which allows you then to further specify the purpose of the interfaces.
One thing which is also important and which I missed before: The NIC for the WAN interface needs to be configured in a very specific way. First you should have the IPs for your additional subnet routed via the second IPv4 which resides on the Router VM. Second: You get a "target" MAC address for this IP - that needs to be configured in the NIC properties of the VM. That also allows you to have DHCP on the WAN interface which takes care about the specifics for the Hetzner Network.
For the internal network I choose one of the private IP spaces and from the vastness of the 10.0.0.0/8 I opted for a small, manageable /24. That allows for different use cases, firewall rules between them and general tidiness in the design. After configuring the interfaces, setting a password for the default account it is now time to configure it!
Using your helper VM we need to bring it over to the internal network - so go to the ESXi Management and switch the VMs Portgroup to internal. Next up is configure Ubuntu to have also an IP out of the range that we've configured for the internal Interface on the router. If everything went according to plan, you should be able to access the Webinterface!

This will be it for this post. The next steps will follow later this week :)